
How To Fill Timesheet As A Personnel
...Tomiwa Oladipo Published September 2022
After an interview, the client will select the personnel that best suits his project preferences.
Ensure you check your Dashboard frequently to not miss out on any updates. But if your Dashboard indicates that you have an approved project, congratulations! The client has selected you for the project.
Your Availability Status will also change to Unavailable automatically.

So, what next?
Manup automatically assigns you to a project manager who will provide all the necessary details about the project and answer any question(s) you might have about the project.
Once on the project site, you must confirm you're onboard and start your Timesheet. Timesheet helps track your working hours, making it easier for you to get paid. Please follow these steps to get started:
1. Log in to your personnel account on Manup
- Fill in your login details and click on Sign in.

2. From your Dashboard, click on Timesheet under Manup’s icon.

3. Select CONFIRM YOU ARE ONBOARD AND READY TO START TIMESHEET
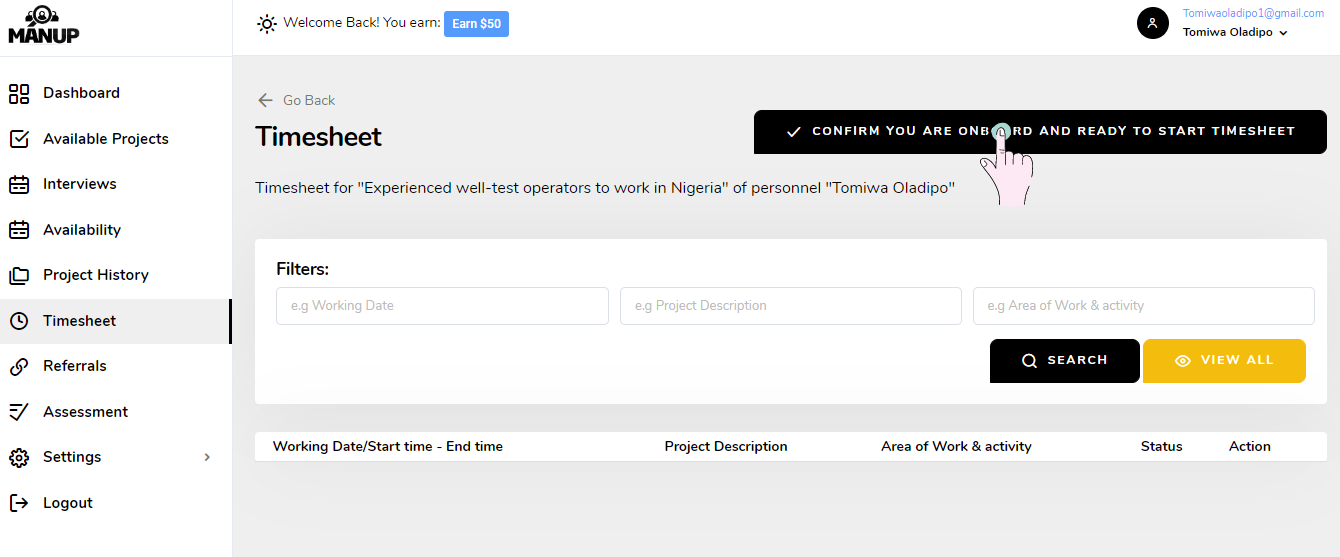
- Select Yes on the system prompt to confirm you are onboard and ready to start Timesheet.

Manup automatically alerts the client to confirm you’re onboard and ready to start your Timesheet.
Once the client confirms you’re onboard and ready to start your Timesheet, you’ll receive a notification via your registered email on the Manup platform.
4. Now, click the Go to manup button from the email notification to log in to your personnel account on Manup.

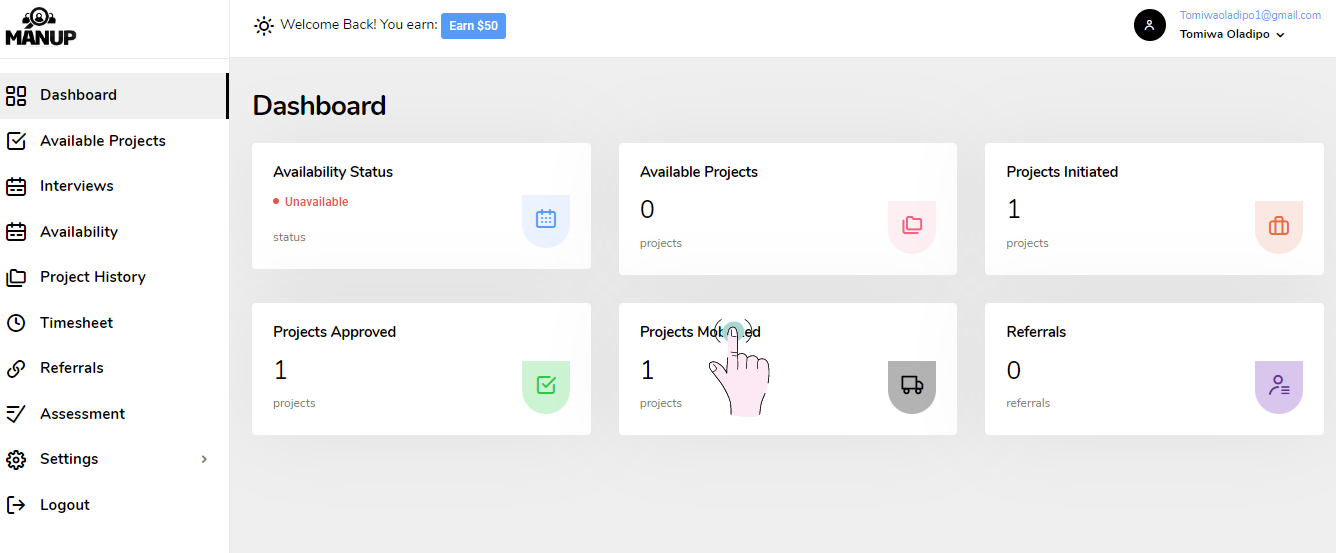
- Your Dashboard will indicate you’ve been mobilized for a project.
- You can select Projects Mobilized to view the project details.
Now, all that’s left is to start filling your Timesheet to track your working hours.
5. Select the Timesheet submenu on the right pane.
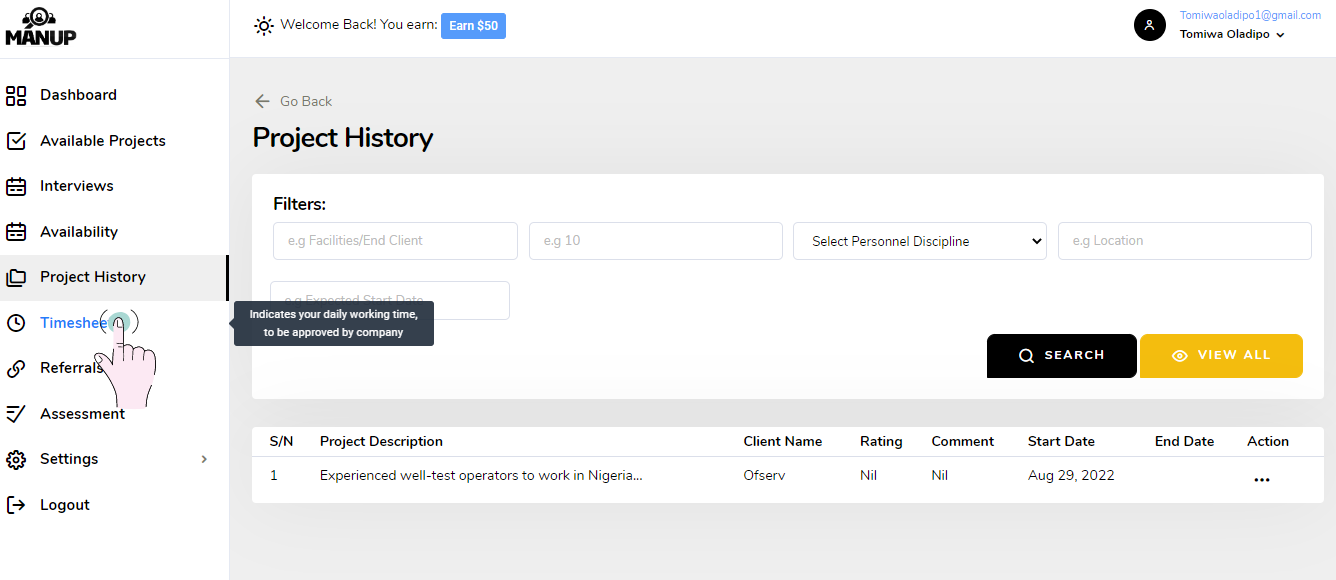
6. Select ADD TIMESHEET ENTRY button

7. Fill in the necessary details and click on ADD ENTRY
- Work Description
- Work Day
- Start Time
- End Time
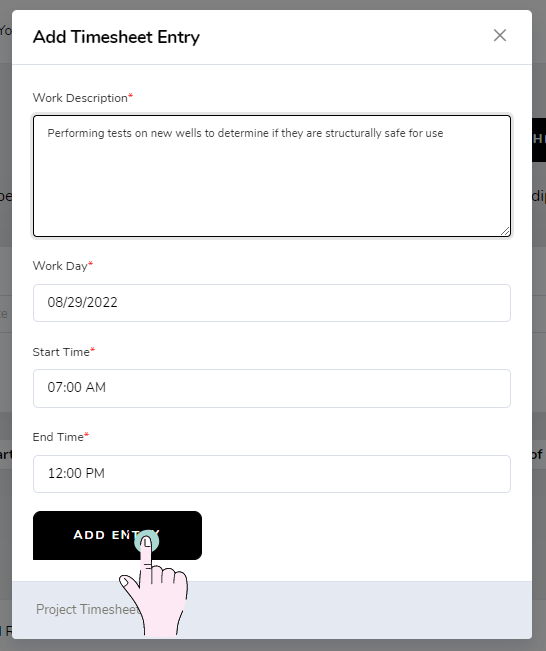
Once you select ADD ENTRY, Manup automatically sends the Timesheet to the client for approval.

Can I edit the Timesheet after sending it?
Yes, if you notice you didn't fill the Timesheet correctly, you can edit it provided the client has not approved it. Here's how to do that:
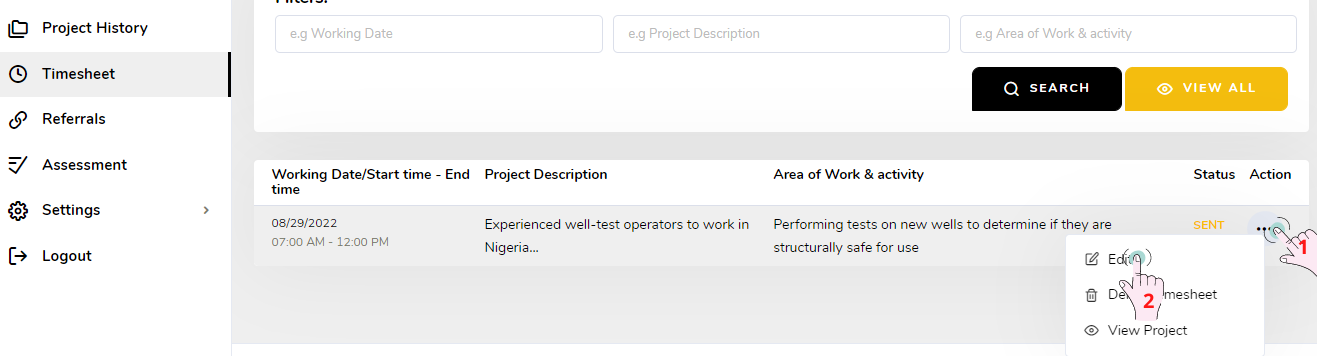
1. Navigate to the Action subtitle and click on the more (three horizontal dots) icon to view a submenu.
- Select Edit
2. Make all necessary edits and click on EDIT TIMESHEET to save changes.

Now, all that’s left is for the client to approve the Timesheet.

- Manup will notify you via email once the client approves your Timesheet.

3. Click on Go to manup button from the email notification to log in to your personnel account on Manup.
- Navigate to Timesheet
- Observe the Status has changed from SENT to APPROVED

We’ve gotten to the end of this guide.
Learn more about Manup.
Was this guide helpful?
Want to contact us? Call: +1 346 442 5234 or start live chat.